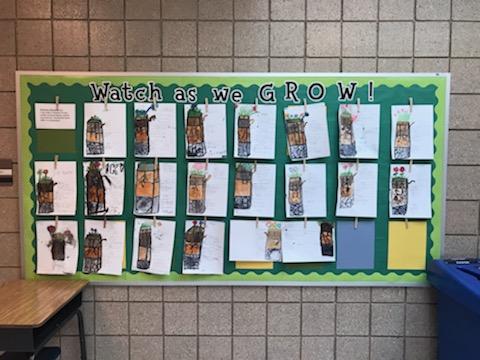
Today’s post I want to feature a teacher who was an excellent representation of integrating arts into her core curriculum. Andrea Heiner teaches fourth grade in Utah, and during her science curriculum of soil layers, she used watercolors as their medium for creating a diagram. A little science, a little art, a lot of fun! Check out their great project here:
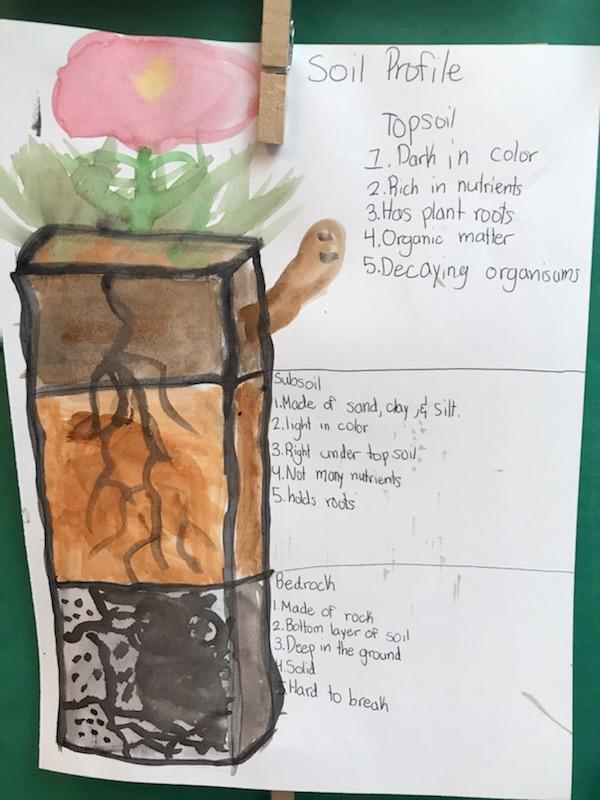
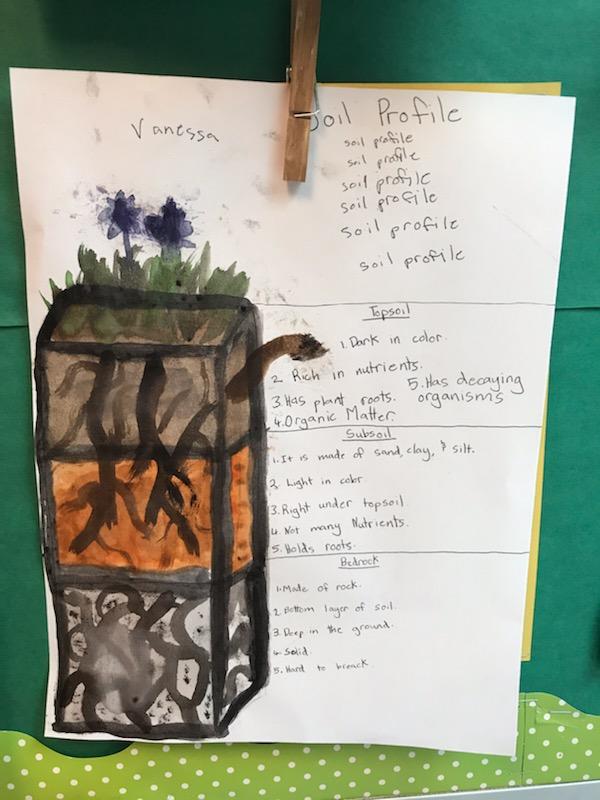
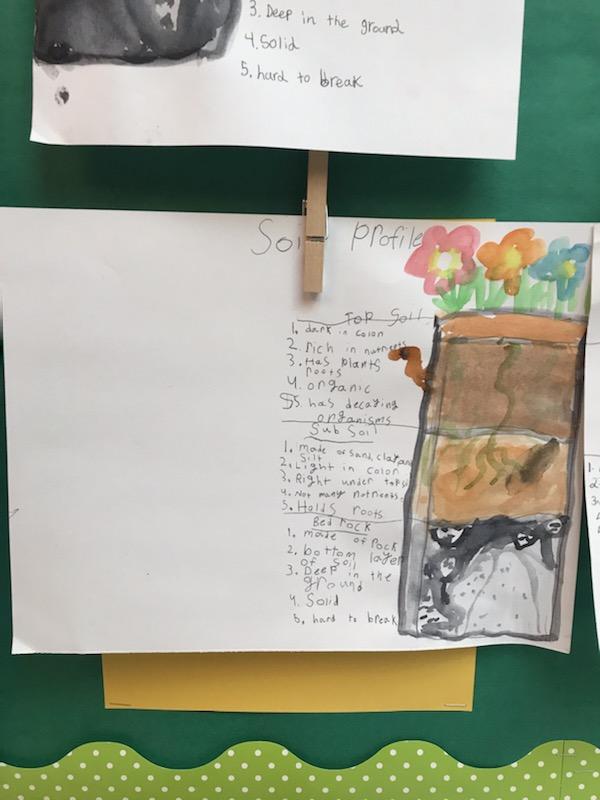
The students started with the bottom layer, bedrock. The next day once this layer was dry, they worked on the second layer, subsoil.
Each layer shows components of what this layer of soil contains, such as rocks, roots, and even worms!
Once their paintings were finished, they added labels and descriptions for each section.
What a great example of arts integration! Great job, Ms. Heiner!
Puppets have a special place in the classroom of littles. Using a puppet in teaching may feel like another item to worry about or check off your ever-growing to-do list, however, when used correctly, they can be powerful to students. It’s as if you have a second teacher in the classroom, a separate being with separate ideas is what they see it as. Puppets to students are magical, even when they are old enough to know better of what they are and how they work, their little brains work in the way that they look at that inanimate object as an animate object with its own thoughts and feelings, even if they are all indirectly coming from you as the puppeteer.
Tips for using a puppet in the classroom:
Use him as an example of good behaviors you want students to model.
Use him as an example of common problems in the classroom such as trouble with a math problem. Later, when students run into the same problem, a great reminder for them would be how the puppet solved the problem.
Use him as a new storyteller in the classroom.
Let the puppet introduce new topics such as persuasive writing or reading non-fiction.
Let the students use the puppet as a writing audience.
Turn it into an art project and allow the students to create their own puppets.
Puppets have a big place in the classroom, whether he or she becomes a part of the classroom, or they are simply used in dramatic play for storytelling. The best part of puppets is that they can be as complicated and expensive as your limits allow, but also as simple as a sock with buttons glued on. They don’t care about the complexity of it, they just care about the magic behind it.
Do you use puppets in the classroom? What benefits do you see?
Reader’s theaters. A tale as old as time. Teachers have been using reader’s theaters in the classroom for years and years now because they are the golden nugget of adding in arts to our reading and language arts curriculum.
Students can work on reading, reading out loud, reading with emotion, drama/acting, and more while practicing and performing a reader’s theater.
Ways to make an RT successful:
Give it an authentic purpose and audience.
Model, model, model the proper way to read for an RT.
Pick an interesting topic to the students.
Choose a good RT based on the reading level of your students.
Utilize gyms, theaters, and stages in the school to practice reading.
Film the students practicing for them to go back and watch so that they can see what they look like reading out loud.
A few websites full of good (and mostly free) reader’s theaters:
Beyond these, a simple Google, Pinterest, or Teachers Pay Teachers search can also lead you to great reader’s theaters, whether free or paid.
In my own experience, I saw reluctant readers shine through as they performed an RT on space for a younger grade learning about planets. Their confidence came through as they watched themselves get better and better in the spotlight with practice. Reading wasn’t a chore, it became fun and exciting to them.
What are some great experiences you’ve seen while doing reader’s theaters in your classroom?
When math overrides the majority of the time throughout the day, how do we incorporate the arts? We make art mathematical! Here is a fun activity to learn about the color wheel, as well as apply fraction skills in the process of creating the color wheel.
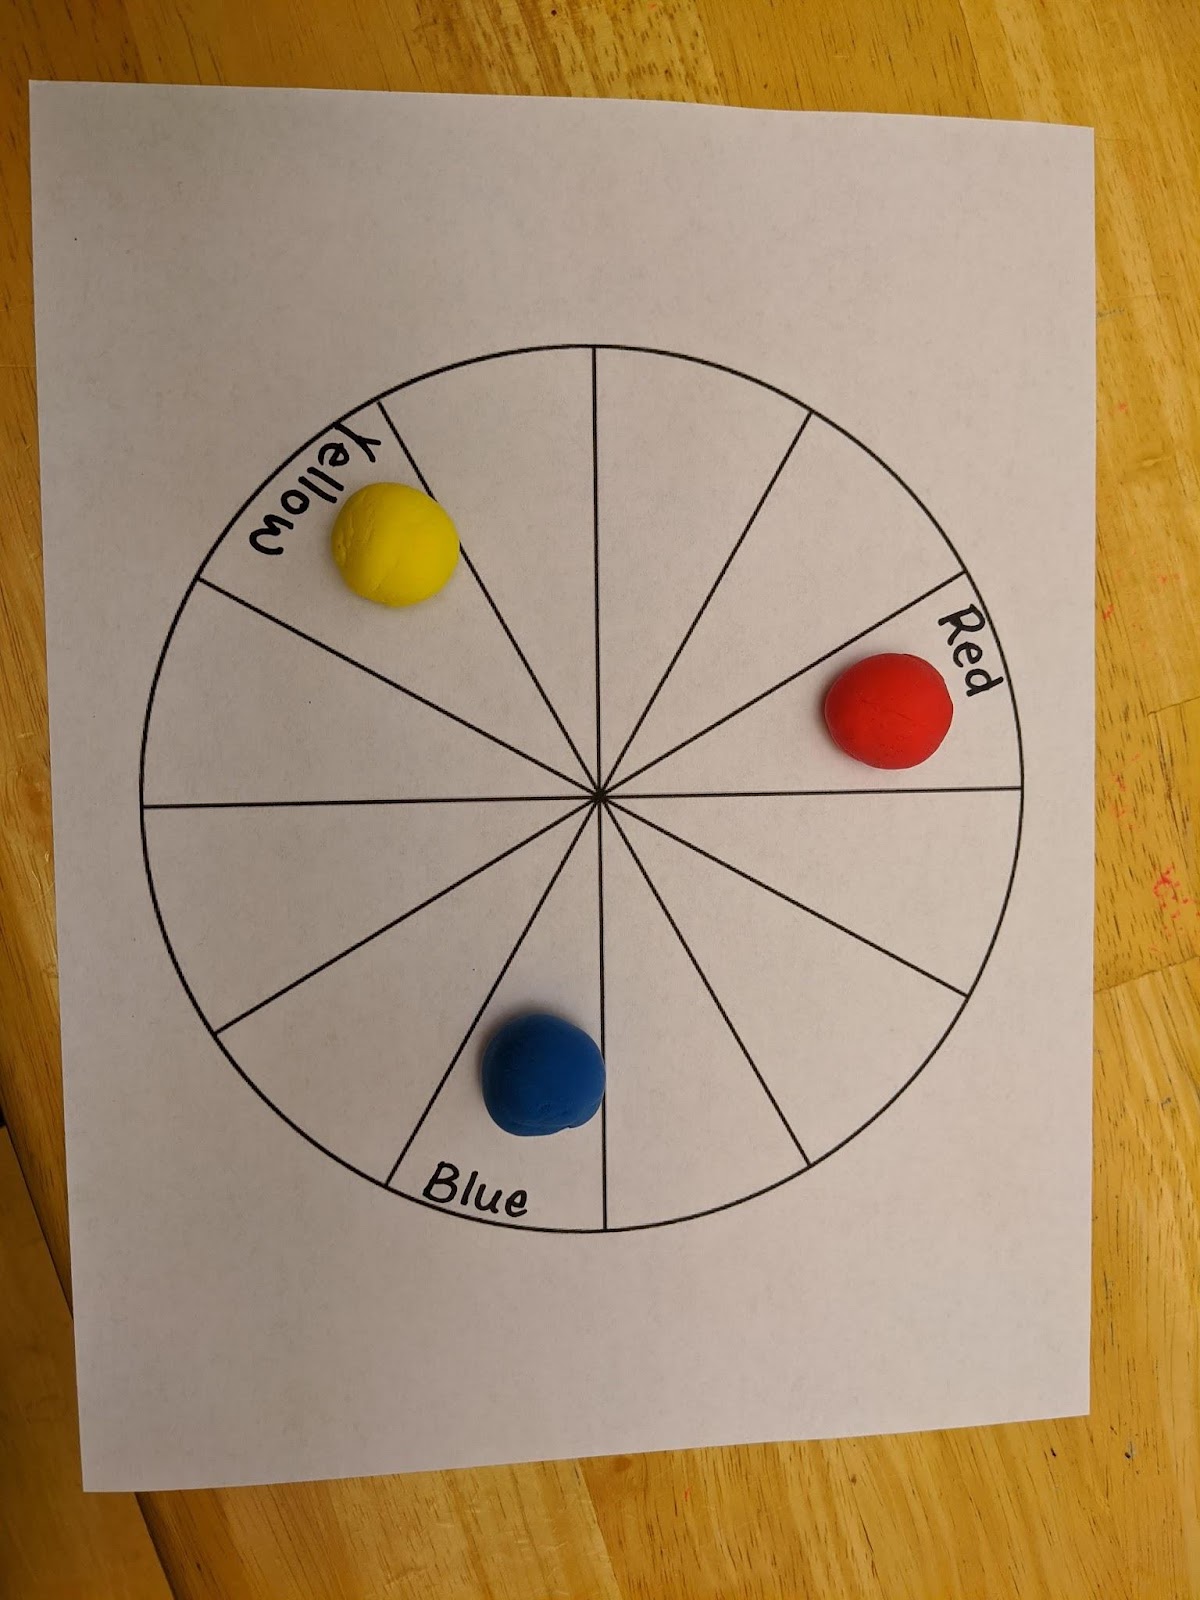
You’ll need a print out of a blank or semi-filled in color wheel, and modeling clay.
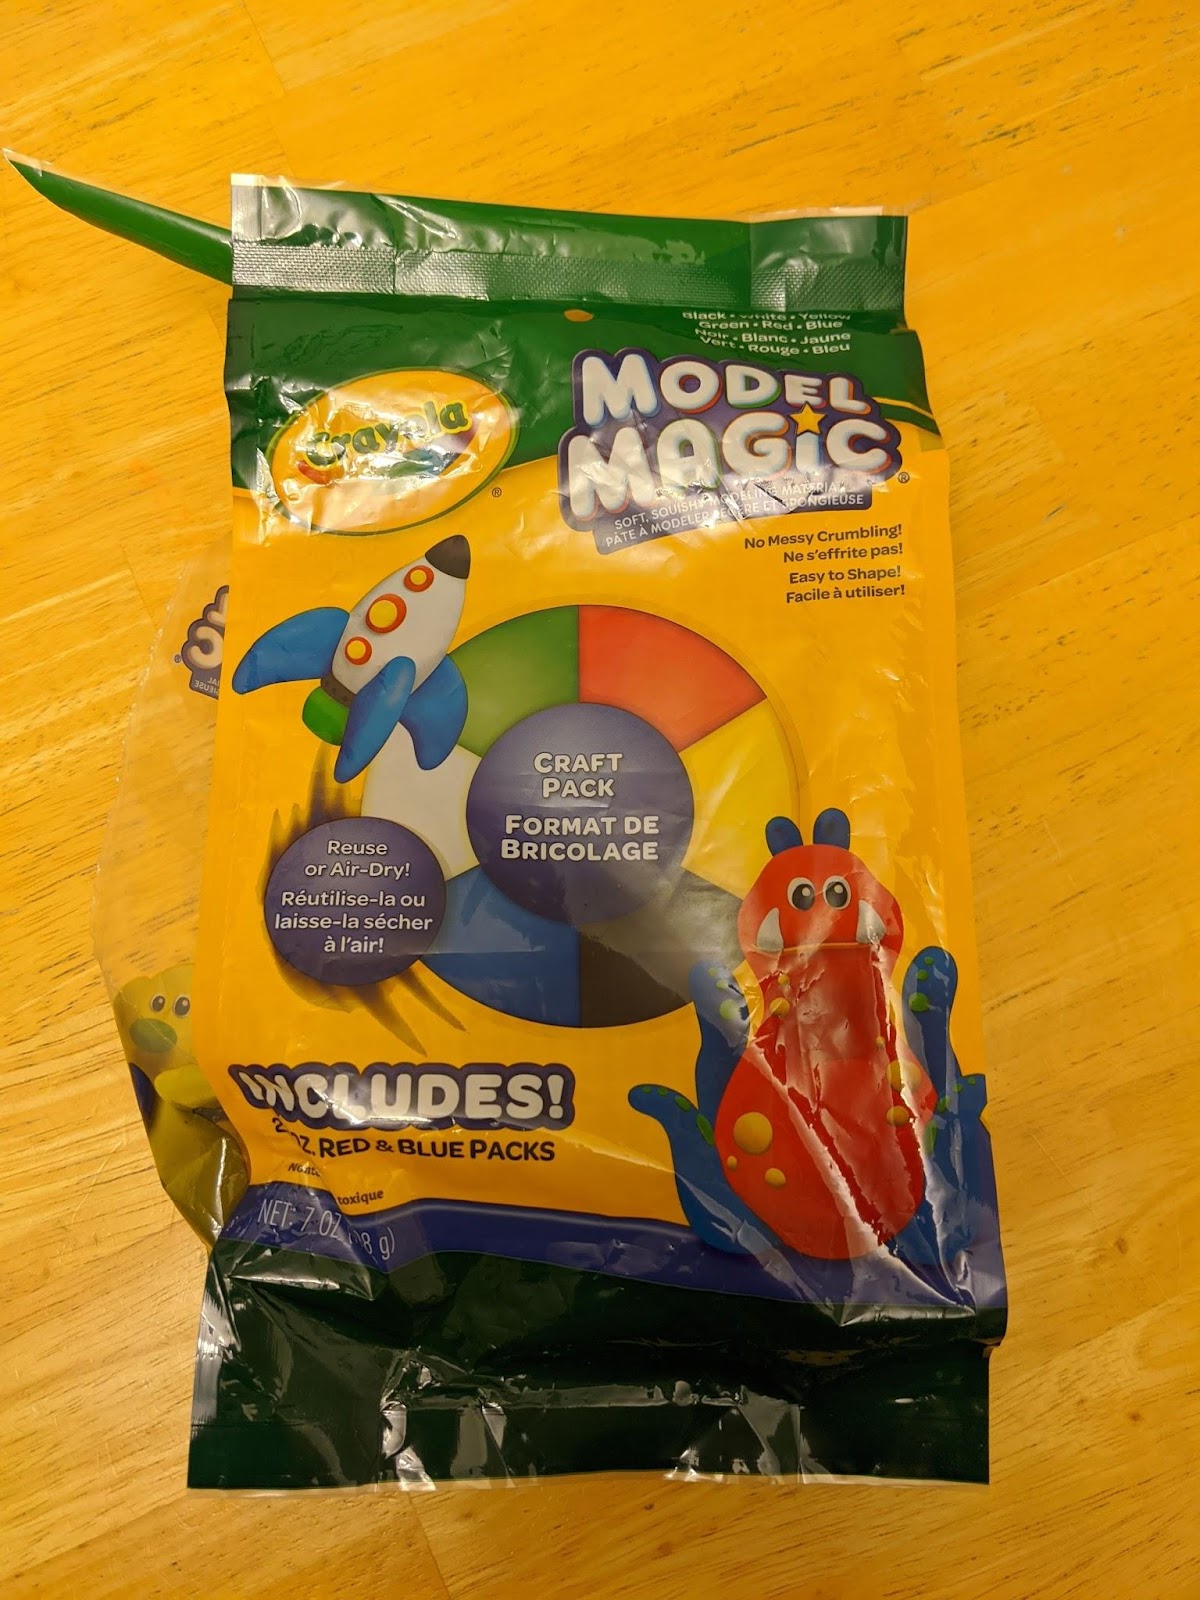
I used Crayola Model Magic clay for this activity. It’s soft, squishy, and will change colors when mixed! Normal clay can work just fine too. You can either let it dry and let them glue it to the page when it’s finished, or toss it back all together and store it in an airtight container for future use.
Start with three equal pieces of clay in red, yellow, and blue.
Leave a small reference piece behind, then with remaining clay, split into two equal pieces, creating two halves.
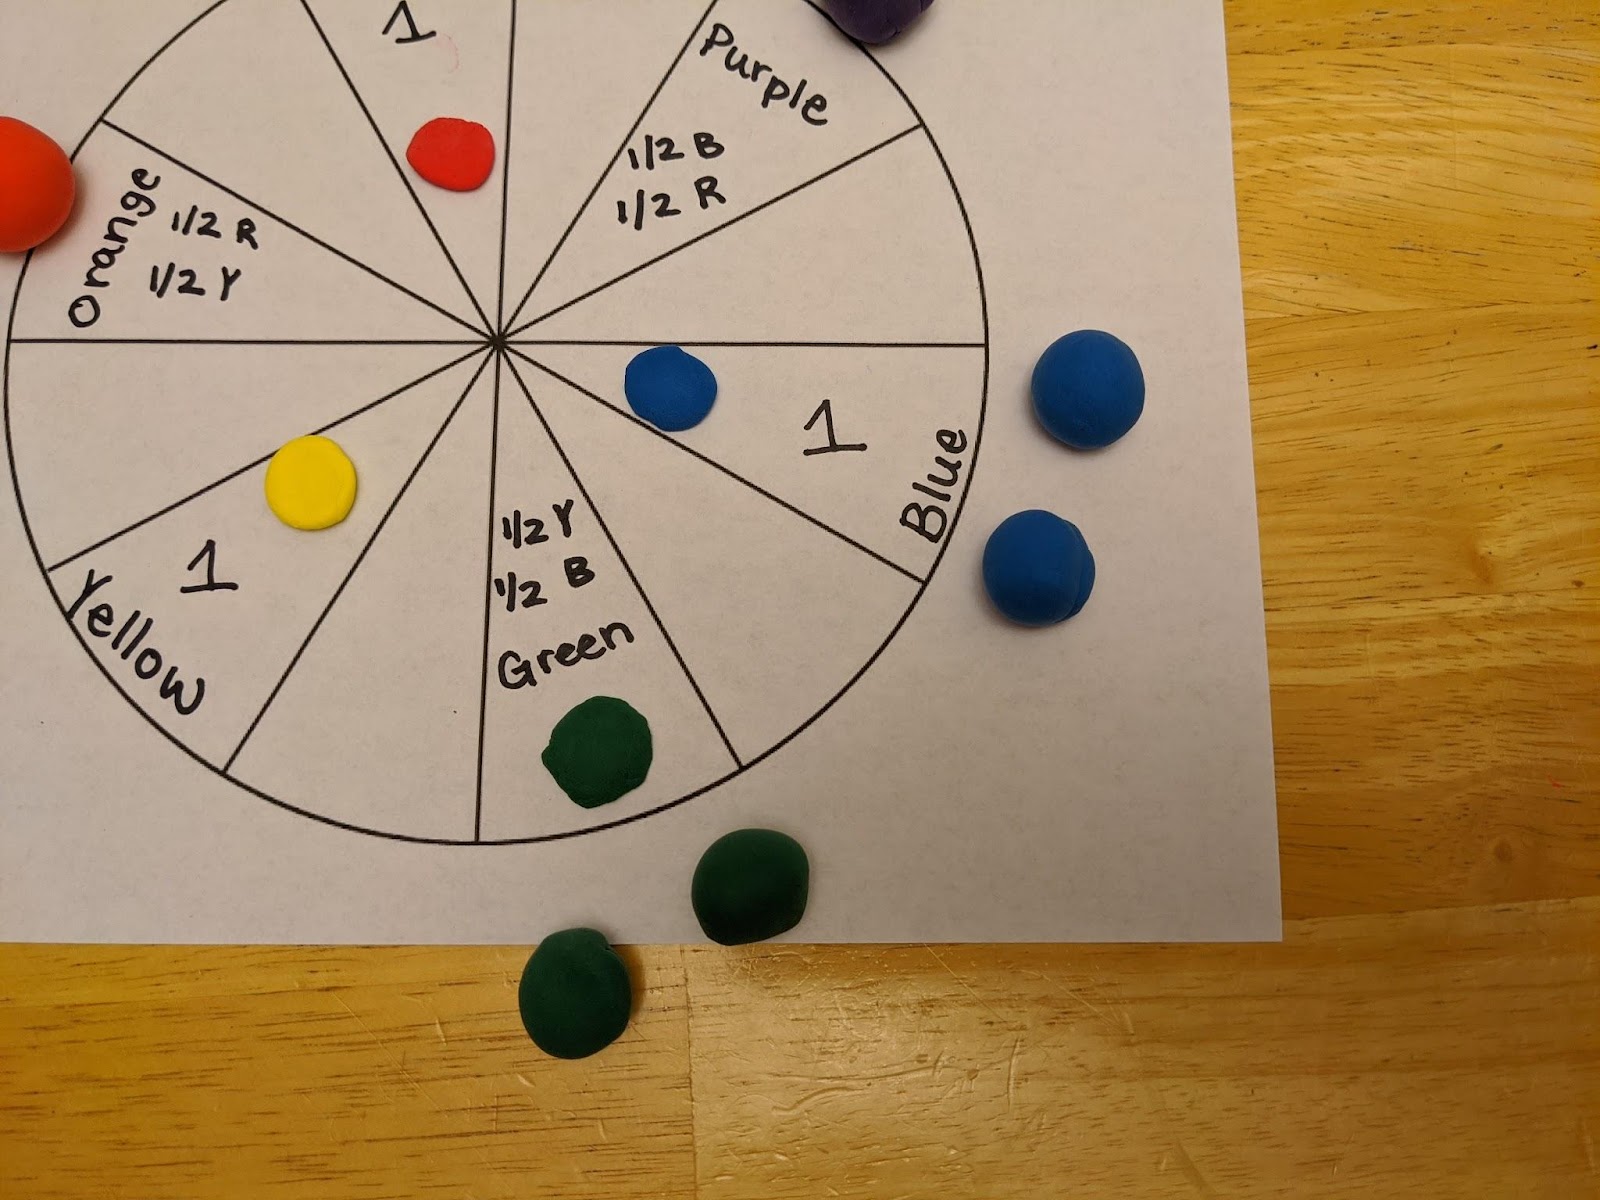
Mix the colors! Write out the fractions on the paper as well.
Orange= ½ R ½ Y
Purple= ½ B ½ R
Green ½ Y ½ B
For a shorter activity, find a smaller color wheel cut into sixths and stop here. For a longer activity, continue on. For the sake of a shorter blog post, I will only model one part of the next step.
On the blue and green side- split the blue and green pieces in ½. (For reference, I pulled a new piece of blue clay for this.)
Mix the blue and green pieces to make green-blue. Green-blue is equal to ½ G, ½ B. Or it is also equal to ¼ Y ¾ B.
The other half of the green that was split before will be used to mix with a half piece of the yellow.
Continue the same with yellow-green, red-orange, etc.